
 Author:
Do you need a passport photo but don’t want to visit a photo studio? The good news is, you can take a passport photo at home with iPhone and Android. In just a few steps, you can ensure your photo meets all official requirements while looking polished and professional.
With a passport photo maker, you can easily adjust facial expression, change to white photo background, and enhance image quality to create a passport-ready picture in seconds.
Tips for Taking a Passport Photo at Home

Taking your own passport photo is easy when you follow these essential tips
1. Use Proper Lighting
Good lighting is key to a clear, professional passport photo. Natural daylight works best—try standing near a window for even lighting. Avoid harsh shadows, and don’t use flash, as it can cause glare.
2. Choose a Plain Background
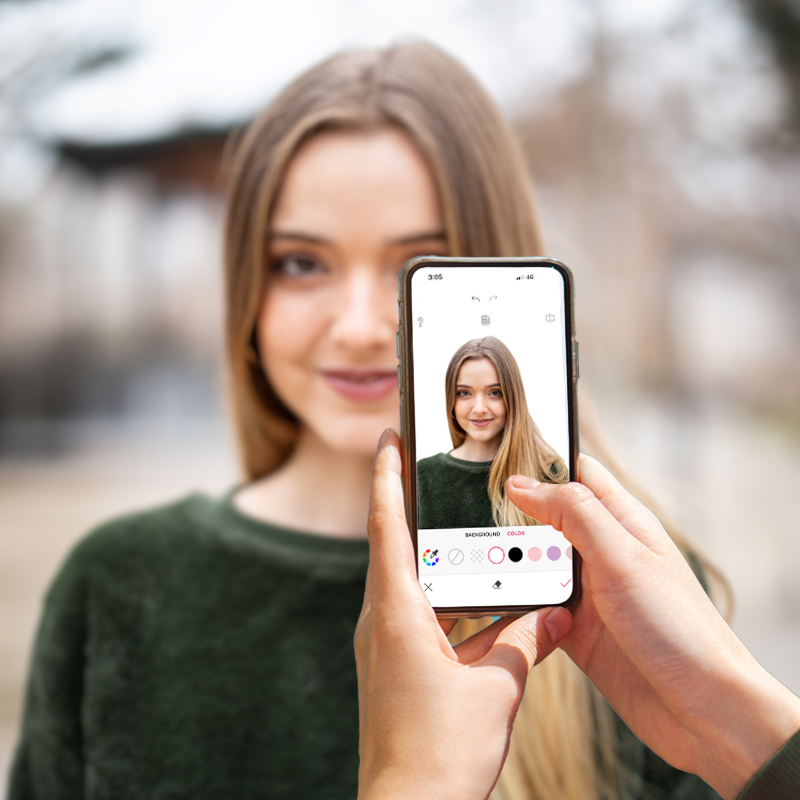
Most passport photos require a white or off-white background. If you don’t have a suitable wall, YouCam Makeup’s AI background changer can instantly swap any backdrop for a passport-ready one.
3. Wear Simple, Everyday Clothing
Avoid uniforms, patterned outfits, or anything that blends into the background. Stick to solid colors and avoid accessories that could obstruct your face.
4. Maintain a Neutral Expression
Look directly at the camera with a neutral expression—no big smiles or frowns. Keep your eyes open, mouth closed, and face fully visible without tilting your head.
5. Take Multiple Shots for the Best Result
Capture several photos to ensure you have options. You can use YouCam Makeup’s AI tools to retouch or adjust your photo afterward, so don’t stress if the lighting or expression isn’t perfect.
How to Take a Passport Photo with iPhone and Android: 5 Steps
Now that you know the basics, here’s a step-by-step guide to capturing a passport photo using just your phone:
Step 1: Set Up Your iPhone for the Best Shot
Proper setup is essential to get a clear and compliant passport photo:
- Use a Tripod or Steady Surface: If you’re taking the photo yourself, place your iPhone on a tripod at eye level to prevent blurriness. If someone is taking the photo for you, ask them to hold the phone steady.
- Use the Rear Camera: The back camera of your iPhone has higher resolution and better quality than the front-facing camera, ensuring a sharper image.
- Enable Grid Lines: Turn on the grid feature in your iPhone camera settings to align your face properly in the frame.
Step 2: Find the Right Background and Lighting
- Use a Plain, Light-Colored Wall: Stand against a white or off-white background for a passport-approved look.
- Ensure Even Lighting: Take your photo in natural light near a window to reduce shadows. If using artificial light, position two light sources on either side to eliminate harsh shadows on your face.
- Avoid Overexposure or Dark Shadows: Check your camera’s exposure settings and tap on your face to adjust brightness before capturing the photo.
Step 3: Position Yourself Correctly
- Stand 2–4 Feet from the Camera: Being too close may distort proportions, while being too far may make cropping difficult.
- Keep Your Head Centered: Your head should be fully visible, with some space above it and your shoulders included in the frame.
- Face the Camera Straight On: Look directly at the lens with a neutral expression. Avoid tilting your head, smiling, or frowning.
Step 4: Capture Multiple Shots for the Best Result
- Take a few photos in different lighting conditions to ensure the best quality.
- Check for clarity—your face should be sharp and well-lit.
- Make sure there are no shadows or obstructions on your face before finalizing the shot.
Step 5: Edit with AI for a Perfect Passport Photo
Even with a well-taken shot, small imperfections can still occur. YouCam Makeup’s AI tools ensure your photo is polished and professional:

How to Change Bad Facial Expressions With AI Retake

Didn’t nail the perfect shot? No worries! With YouCam Makeup’s AI Retake feature, you can seamlessly adjust your facial expression without endless reshoots. Simply upload a photo with your desired look, and the AI will swap in the perfect expression, quick, easy, and hassle-free!
How to Add a White Background to a Passport Photo

If your background isn’t plain enough, YouCam Makeup’s AI background changer can replace it with a passport-ready white backdrop instantly. This ensures your photo meets government regulations without the need for a professional studio.
How to Enhance Photo Quality with AI Image Enhancer

Blurry or grainy photos can get rejected. Use YouCam Makeup’s AI photo enhancer to sharpen details, balance lighting, and refine your image for a crisp, high-resolution finish. This feature automatically detects imperfections and enhances the photo for a flawless result
Best Passport Photo Maker for iPhone and Android
Taking a passport photo at home with your iPhone and Android phone is easy with the right AI tools.
With YouCam Makeup’s background changer, photo enhancer, and facial expression changer, you can create a passport-ready image in just a few taps. Try it today and save time on your next passport renewal!

How to Take Passport Photos at Home FAQs
Is there a free AI passport photo generator?
Yes! YouCam Makeup offers free AI tools to adjust backgrounds, enhance quality, and retouch passport photos.
Can I take a passport photo with my phone?
You can take a passport photo with your phone as long as it meets official passport photo requirements. Use a high-quality camera, good lighting, and a neutral background. You can also use passport photo apps to crop and adjust the image to fit government standards.
Does AI make passport photos look realistic?
Yes, AI tools in YouCam Makeup refine lighting and sharpness while keeping your features natural and realistic.
What is the best app to take passport photos with your phone?
YouCam Makeup is the best app for taking and editing passport photos with AI face retouch, background editing, and photo enhancement.
How do I take a passport photo of myself?
To take a passport photo yourself, follow these steps:
- Find a plain white or light-colored background.
- Use natural lighting or soft, even artificial light.
- Position your phone at eye level and use a tripod or ask someone to take the photo.
- Maintain a neutral expression with eyes open and mouth closed.
- Ensure your face is fully visible, with no shadows or filters applied.
How do I take a good passport photo of myself?
For the best results, follow these tips:
- Stand about 2 feet away from the background to avoid shadows.
- Keep your head centered and straight, with a neutral expression.
- Wear simple clothing (no uniforms or distracting patterns).
- Avoid glare on glasses or remove them if required.
- Use a passport photo app to size and format your image correctly.
For a hassle-free option, try an AI passport photo maker to adjust the background and ensure your photo meets official guidelines!


