
 Author:
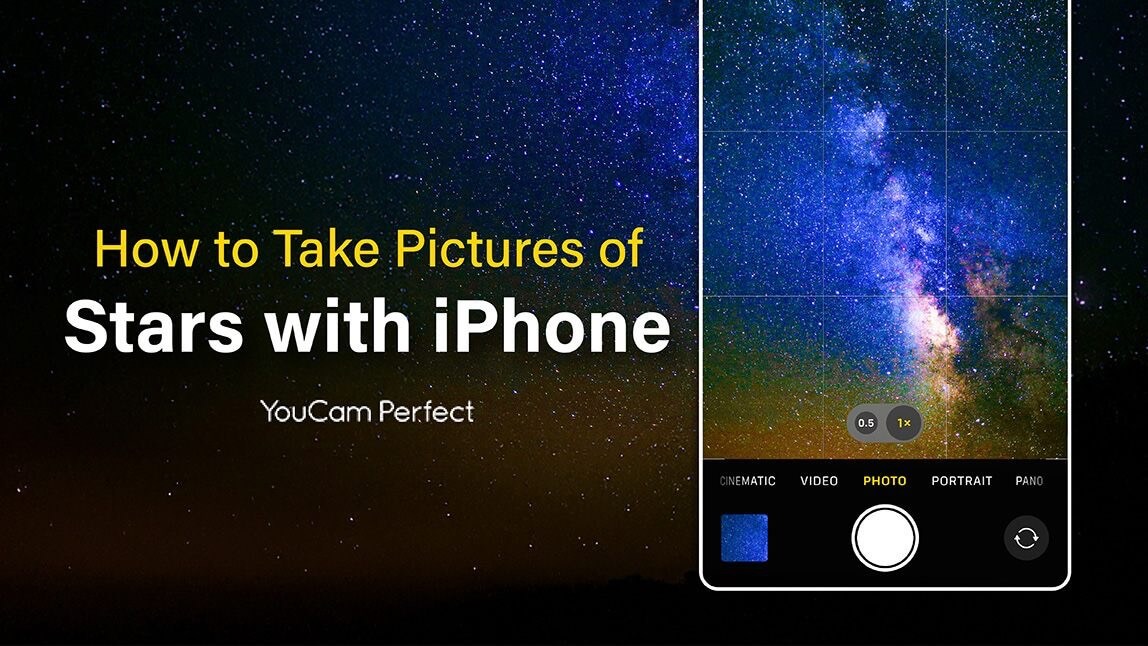
There’s something magical about gazing up at a night sky full of twinkling stars. Capturing that beauty through photography is a thrill, but many photographers wonder: how to take pictures of stars with iPhone.
You don’t need a fancy DSLR or telescope to achieve breathtaking results. Your iPhone can be your gateway to the stars. With the right techniques and a little help from apps like YouCam Perfect, your night sky shots can go from ordinary to stellar.
| Table of Contents |
|---|
Why Star Photography is Special
Star photography allows you to freeze a fleeting moment in time. The patterns of constellations, the Milky Way, or even shooting stars tell a story that’s impossible to replicate. Unlike landscapes or portraits, night sky photography challenges your creativity and technical skills, making the final shot all the more rewarding.

The good news? With the right preparation and post-editing tools, you can overcome these challenges.
How to Take Pictures of Stars with iPhone
Before we dive into editing, let’s talk about the basics of how to take pictures of stars. Here are some essential tips:
1. Choose the Right Location
Light pollution is the enemy of star photography. Look for dark skies away from city lights. Apps that track light pollution can help you find the best spots. High elevation locations or open fields often produce spectacular results.
2. Stabilize Your iPhone

3. Use Night Mode or Long Exposure
Newer iPhones have Night Mode that automatically adjusts exposure. For iPhones that allow manual settings, experiment with longer shutter speeds. This allows your camera to gather more light and capture the stars’ brilliance.
Open your iPhone's camera and take a photo of the night sky using Night Mode.

- Tap the moon icon in the top left corner of your iPhone's display
- Tap the triangle icon on the display
- Set the night mode time to [Maximum]
- Press the capture button on the iPhone camera
- Hold your iPhone still and take a photo of the night sky
*By maximizing the night mode, you can take long exposure photos of the stars without blur.
4. Focus on Infinity
Focusing at night can be tricky. Manually set your focus to infinity if your iPhone supports it, or tap on a distant bright star or light to help the camera focus properly.
Elevate Star Photography with YouCam Perfect
Enhancing your star photos is easier than you think. YouCam Perfect offers AI-powered tools to make your night sky images pop. Here’s a step-by-step guide to elevate your star photography:
Step 1: Download YouCam Perfect
You can get the app on both iOS and Android. It’s free to start, with optional premium features for advanced editing.
Step 2: Upload Your Photo

Step 3: Use AI Enhance

Step 4: Apply Filters
YouCam Perfect offers aesthetic filters that work very well with night and low-light photography. Experiment with subtle color tweaks to bring out the stars’ natural glow or add a dreamy effect.

Step 5: Adjust Details
Fine-tune your photo by adjusting highlights, shadows, and saturation. You can make the stars sharper, the sky darker, or the overall image more vibrant.
Step 6: Save and Share
Once you’re happy with your edits, save your photo in high resolution. Share it on social media or keep it as a personal memento of your night sky adventure.
Common Mistakes to Avoid
Even seasoned photographers sometimes struggle with night sky photography.
Here are a few pitfalls to watch out for:
- Overexposure: Too long of a shutter can turn stars into streaks or wash out the sky.
- Ignoring Composition: A cluttered foreground can distract from the stars.
- Skipping Post-Processing: Editing is not cheating, it’s part of creating a professional-quality star photo.
Master Star Photography with iPhone
Mastering star photography with your iPhone is a blend of technique, patience, and creativity. By understanding the basics of exposure, focus, and composition, you can capture the cosmos like a pro.
And with tools like YouCam Perfect, you can transform your already stunning night sky shots into gallery-worthy masterpieces. Remember, the stars are always above you, waiting to be captured.
Whether you’re a beginner experimenting with your first night sky photo or a seasoned enthusiast fine-tuning your star shots, your iPhone and a little post-processing magic can make the night sky unforgettable.
Star Photography FAQs
How do you take star photography?
To capture great star photography, find a dark location away from light pollution, use a tripod for stability, and set a long exposure to let more light in. Focus on infinity, keep the horizon level, and experiment with composition by including foreground elements like trees or mountains to make your star photos more dynamic.
What ISO setting for star photography?
For star photography, start with an ISO between 800 and 3200 depending on your environment. A higher ISO brightens stars but may add noise, so balance it with exposure time. On iPhones, Night Mode adjusts ISO automatically, but third-party apps allow manual control for fine-tuning star photos with less grain and better clarity.
What is the best aperture for star photography?
The best aperture for star photography is usually the widest available on your device (like f/1.5 or f/1.8 on many iPhones). A wider aperture lets in more light, helping stars appear brighter and sharper. Pair it with the right ISO and exposure to capture detail without overexposing the night sky.
How do you take pictures of the stars on iPhone?
To take pictures of the stars on iPhone, use Night Mode or a long exposure app, and keep your phone completely still with a tripod. Tap to focus on the sky, and lower exposure manually if available. After capturing, enhance your photo with editing apps like YouCam Perfect to highlight stars and reduce noise.
How do I get my iPhone to pick up stars?
To help your iPhone pick up stars, shoot in a dark location, enable Night Mode, and keep your phone steady on a tripod. Longer exposures allow more starlight into the camera. After shooting, editing with tools like AI Enhance in YouCam Perfect can bring out faint stars and boost clarity in your image.
What is the best setting for night photography on iPhone?
For night photography on iPhone, use Night Mode with exposure set to 10 seconds or longer if available, and keep ISO lower to reduce noise. Stabilize your phone with a tripod, and tap to focus on distant lights. Post-editing with apps like YouCam Perfect helps refine contrast, brightness, and detail in your star photos.


