 Author: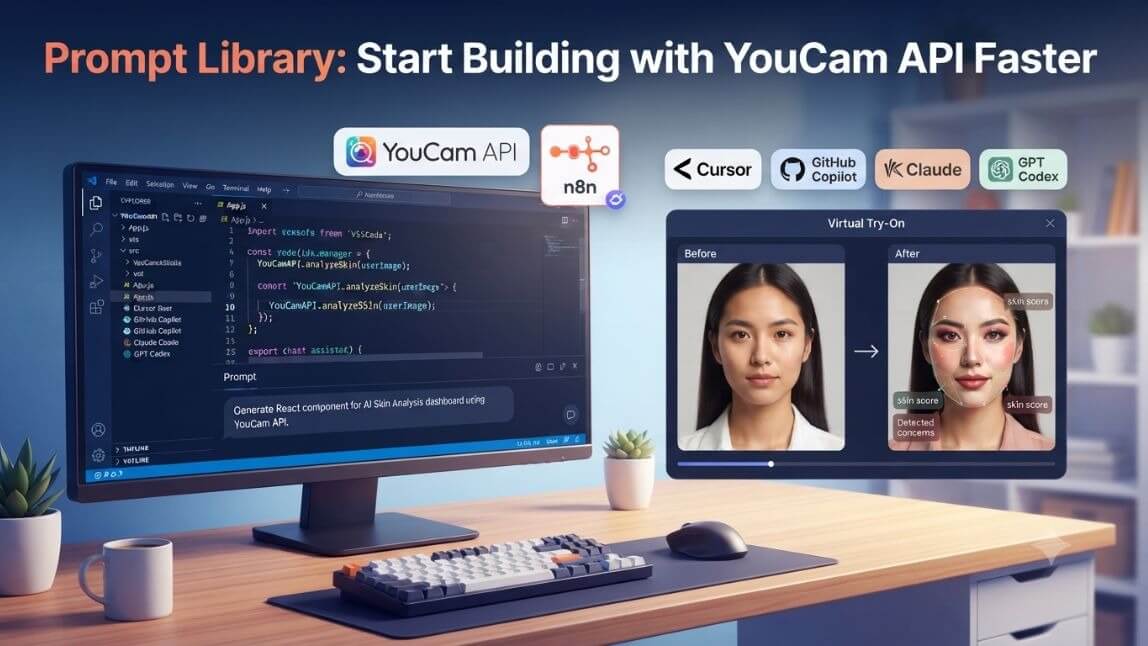
One of the biggest advantages of AI coding assistants is that developers can describe what they want to build instead of manually writing every component from scratch. The quality of the output depends heavily on the prompt. Here are some examples of prompts you can use with Claude, GPT Codex, Cursor, GitHub Copilot for VS Code, or other AI coding assistants.
Prompt 1: Build an AI Skin Analysis App
Build a Next.js application that allows users to upload a selfie and analyze their skin using the YouCam Skin Analysis API.

Requirements:
- Create an image upload component
- Send the image to the API endpoint
- Display skin analysis results in a dashboard
- Show detected skin concerns, skin score, and recommendations
- Use a clean and responsive UI

The AI assistant can generate the frontend structure, API request logic, and result display components.
Prompt 2: Create an AI Hair Color Simulator
Create a web app where users upload a portrait image and preview different hair colors using YouCam Hair Color API.

Requirements:
- Build an image upload workflow
- Allow users to select different hair colors
- Send requests to YouCam API
- Display before-and-after comparisons
Prompt 3: Build a Virtual Makeup Experience
Create a virtual makeup try-on application using YouCam Makeup API.

The app should:
- Allow users to upload a selfie
- Apply different makeup styles
- Display the generated result
- Provide a product recommendation section
Prompt 4: Turn an API into a SaaS Product
Build a SaaS application powered by YouCam API.

Include:
- User authentication
- Usage dashboard
- API request tracking
- Subscription management
- Responsive frontend
These prompts help developers move from an idea to a working prototype faster.
No-Code Integration: Automating YouCam API with n8n
Not every YouCam API integration starts with a prompt to an AI coding assistant. If you want to connect YouCam API into an existing automation, pipeline, or internal tool without writing code, n8n is a good fit. Instead of describing an app in natural language, you build the integration visually as a workflow of connected nodes. A typical setup looks like this:
Trigger node (e.g. Webhook, Form Submission, or Schedule)

↓

HTTP Request node — authenticate and call the YouCam API endpoint

↓

Set / Function node — parse the JSON response

↓

Output node — send results to Slack, a database, a spreadsheet, or another app
Example use cases:
- Automatically run skin analysis on images submitted through a web form and post the results to a Slack channel.
- Trigger a hair color simulation whenever a new image lands in a cloud storage folder, then save the output image back to storage.
- Feed YouCam API results into a CRM or database as part of a larger marketing or customer-service automation.
Because n8n handles the request/response plumbing visually, it's especially useful for marketing, ops, or automation teams who want to use YouCam API's AI capabilities without maintaining a codebase — while developers can still use Claude, GPT Codex, Cursor, or Copilot for the parts of the stack that do need custom code.
Build Your First AI Beauty App Step-by-Step
Let's look at what a typical AI-assisted development workflow looks like.
Step 1: Choose Your AI Feature
Start with a clear use case.
Examples:
- AI skincare consultation
- Virtual makeup try-on
- Hair color preview
- AI fashion styling
- Virtual jewelry try-on
Step 2: Get Your YouCam API Key
Create a YouCam API account and generate an API key.
The API key allows your application (or your n8n workflow) to authenticate requests and access YouCam AI capabilities.
Step 3: Ask Your AI Coding Assistant to Build the Foundation
Instead of manually creating files and components, describe your goal.
Example:
Create a React application that integrates YouCam Skin Analysis API.

Use best practices for:
- API authentication
- Error handling
- Loading states
- Responsive UI design
Your AI assistant — whether that's Claude, GPT Codex, Cursor, or Copilot for VS Code — can generate the initial project structure automatically. If you'd rather skip custom code entirely, this is also the point where you could start from an n8n workflow instead, using an HTTP Request node in place of a hand-written API client.
Step 4: Connect the API
The assistant can help create:
- API request functions
- Authentication headers
- Image upload handling
- Response parsing
- UI components
A typical workflow becomes:
User uploads image

    ↓

Frontend sends request

    ↓

YouCam AI analyzes image

    ↓

API returns structured results

    ↓

Application displays insights
Step 5: Improve and Expand
Once the core integration works, continue improving the application with AI assistance.
Examples:
- "Add a personalized skincare recommendation page."
- "Create a mobile-friendly version."
- "Add user history tracking."
- "Improve the dashboard design."
The same AI assistant can continue helping you iterate on the product.
From Prototype to Production
AI coding assistants make prototyping faster, but successful applications still require production considerations.
When moving beyond a demo, consider:
- API usage management
- User authentication
- Data privacy
- Performance optimization
- Error handling
- Scalable architecture
With YouCam API providing the AI foundation, AI coding assistants like Claude, GPT Codex, Cursor, and Copilot for VS Code accelerating custom development, and tools like n8n covering no-code automation, developers and teams of all technical levels can move from concept to functional application faster than ever.