 Author:


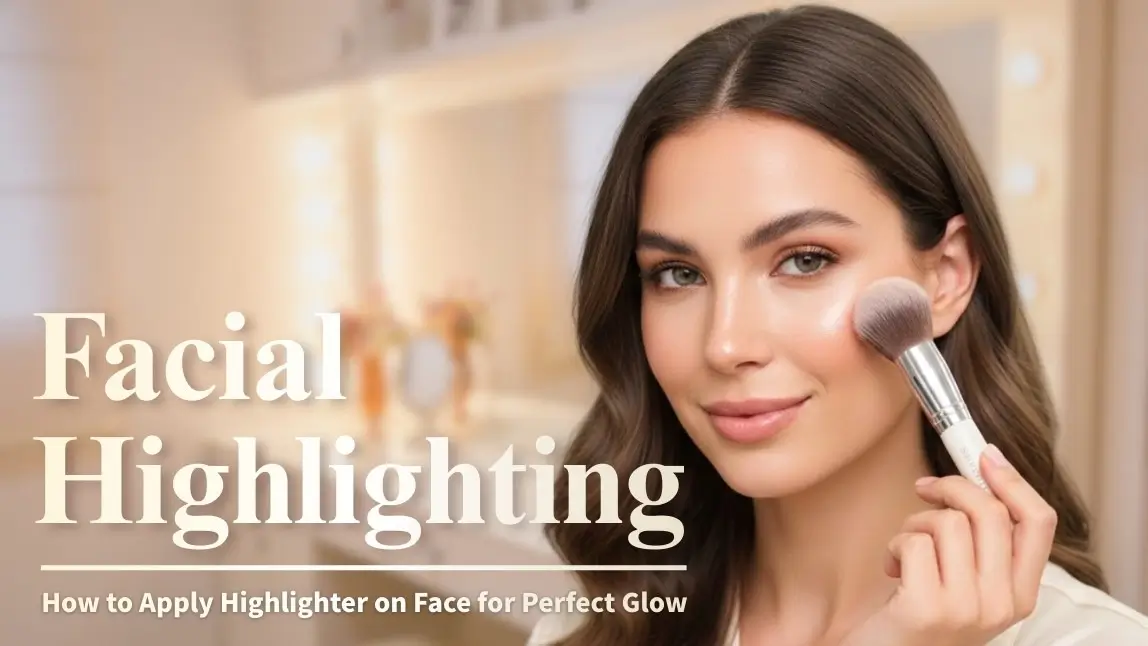
Some images are generated or modified with AI and used for illustration purposes only.
Facial highlighting means placing a light-reflecting product on the high points of the face, where light naturally hits: the tops of the cheekbones, the brow bone, the bridge of the nose and the Cupid's bow.
Start there, then adjust for face shape. Round faces suit a vertical line down the center of the face; long faces suit a horizontal sweep across the upper cheekbones toward the ears; square, heart and oval faces sit in between.
Below: a placement diagram, a face-shape cheat sheet, formula tips, common mistakes, and how beauty brands can let shoppers preview highlighter on their own face.
In this Guide
- What does highlighter do in makeup?
- Where to put highlighter on your face: the high points diagram
- Where to apply highlighter for each face shape
- How to apply highlighter by formula
- Cheekbone highlighter: placement and blending
- Common highlighting mistakes
- How an AI highlighter try-on works for beauty brands
- FAQ
What Does Highlighter Do in Makeup?
Highlighter brightens chosen areas of the face by reflecting light. On the high points, it makes features look more lifted and dimensional and balances the shadow from contour or bronzer.

Where to Put Highlighter on Your Face: The High Points Diagram
Professional makeup artists usually describe the basics as the cheekbones and brow bone, with the chin, nose, Cupid's bow and forehead as optional extras (BEAUTY/crew). The high points of the face are:
- Tops of the cheekbones: the main zone for lift and glow.
- Brow bone: just under the arch of the brow.
- Bridge of the nose: a thin line down the center.
- Cupid's bow: the dip above the upper lip.
- Center of the chin and forehead: small touches for balance.
- Inner corners of the eyes: a dot to brighten.

For a natural look, stick to the cheekbones and brow bone. If your skin tends to get oily, makeup artists suggest skipping the T-zone, since it may already reflect light (BEAUTY/crew).
Where to Apply Highlighter for Each Face Shape
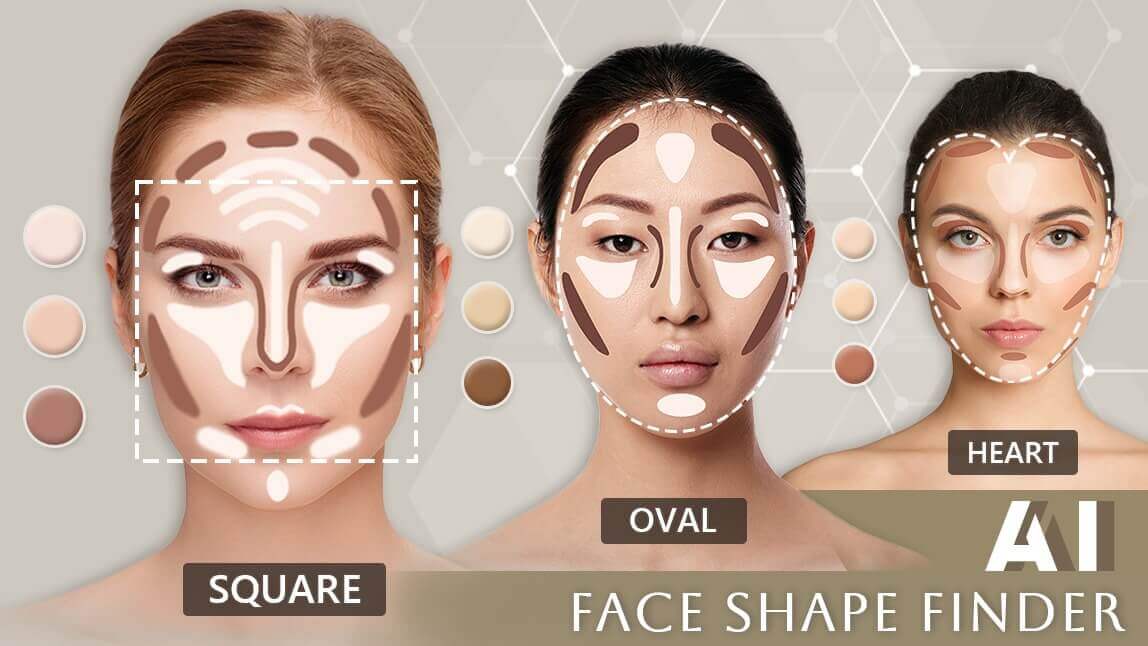
The rule is simple: highlight vertically to add length, horizontally to add width. Not sure which face shape you have? Our face shape chart for men and women explains how to tell.

| Face shape | Where to highlight | Goal |
|---|---|---|
| Oval | Cheekbones, brow bone, nose bridge, Cupid's bow | Keep the classic high points |
| Round | Center of forehead, nose bridge, chin; a little on the upper cheekbones | Add length with a vertical line |
| Square | Center of forehead, under-eye triangle, tip of chin | Draw focus to the center, away from the jaw corners |
| Heart | Cheekbones, center of forehead, Cupid's bow, center of chin | Balance a wider forehead with the chin |
| Long | Under-eye triangle swept out toward the ears; upper cheekbones; go light on forehead and chin | Add width with horizontal placement |
Sources: Kryolan, Iba Cosmetics and 100% PURE. Treat these placements as starting points; most faces mix features of more than one shape.
How to Apply Highlighter by Formula
Highlighter usually goes on after foundation, concealer, contour and blush, so you can see where the glow is needed. Tap and press rather than drag, and build up slowly.

Powder highlighter
Use a fan brush, which naturally hits the high points of the face, and sweep lightly over set skin (BEAUTY/crew). Powder is a good choice for oily skin and a softer glow.
Cream and stick highlighter
Warm the product with your fingertips and press it on before any setting powder, or bounce a damp sponge over it to blur the edges.
Liquid highlighter
Dot a small amount on the back of your hand, then apply with a brush or sponge. Liquid can also be mixed into foundation for an all-over glow (SheerLuxe).
Cheekbone Highlighter: Placement and Blending
Cheekbones are the most important highlight zone. Place the product on the top of the cheekbone, just above your blush, and blend upward and outward toward the temple rather than down toward the cheek. Keep it away from the side of the nose so it doesn't draw attention to pores.
On deeper skin tones, highlighters with golden or bronze undertones help avoid an ashy cast (SheerLuxe). Finish the look with blush, a touch of contour and a dot of shimmer in the inner corners of the eyes.
Common Highlighting Mistakes
- Too much product: build in thin layers instead.
- Shimmer on texture: makeup artists advise against highlighting areas with enlarged pores or uneven texture; choose a non-iridescent "light" finish there instead (SheerLuxe).
- Dragging the brush: it moves foundation and leaves streaks.
- Hard edges: always blend the outline so the glow looks like skin, not a stripe.
How an AI Highlighter Try-On Works for Beauty Brands
Choosing highlighter online is hard: the same product can look subtle on one shopper and intense on another, and a model's swatch doesn't show where the glow lands on your face.
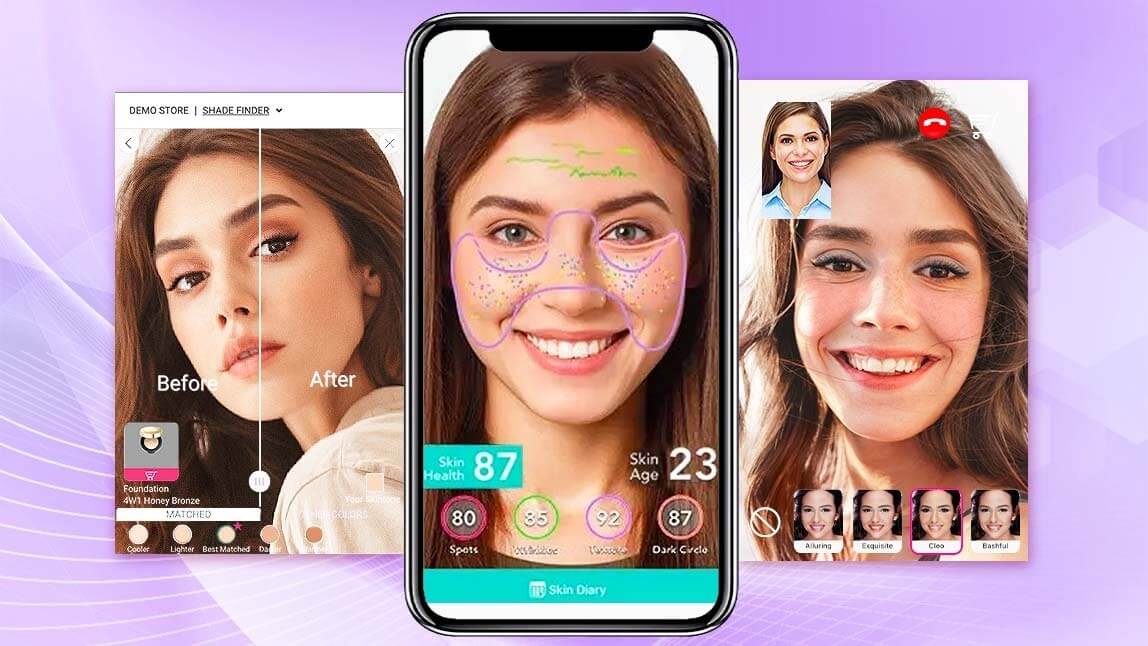
Perfect Corp's highlighter virtual try-on applies highlighter to a shopper's face in real time through the camera. The demo includes five shades, three finishes (matte, glow and shimmer) and four application patterns, so a shopper can compare how subtle or intense each option looks on their own skin before buying. It is part of a wider AI makeup virtual try-on suite that also covers blush, contour and bronzer and can run on web, mobile apps or in-store smart mirrors. Development teams can also integrate makeup try-on into their own platforms through the AI Makeup API.
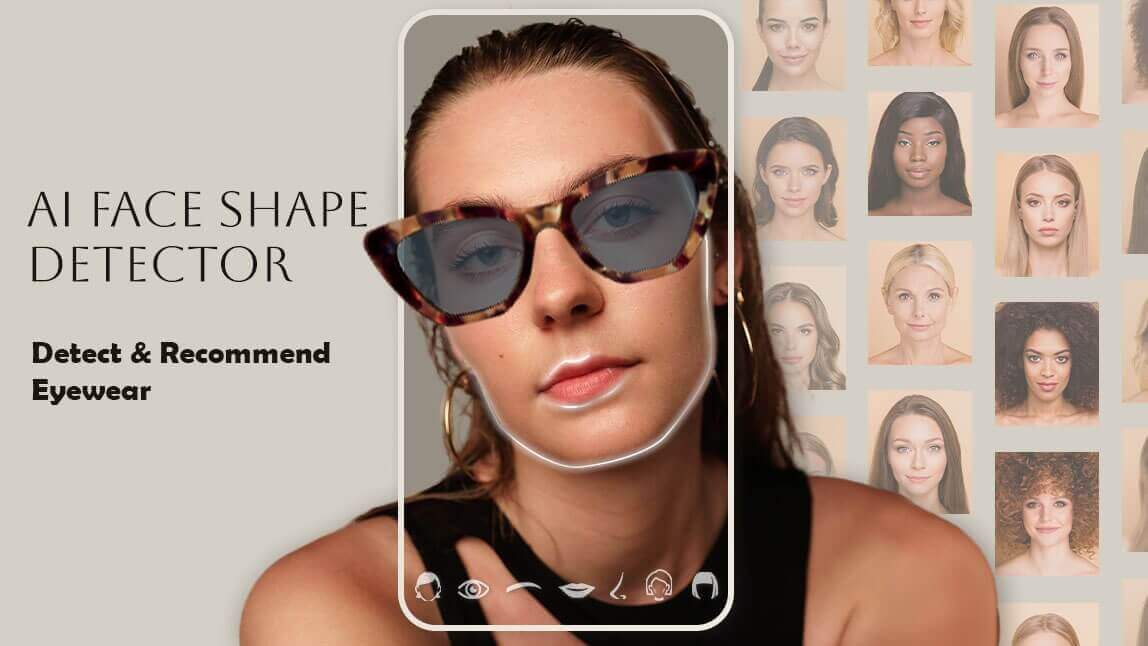
Brands that want to personalize advice further can pair try-on with AI face attribute analysis, which reads visible features such as face shape and cheekbone structure. That can support guidance like "try the vertical pattern" for a round face, framed as a suggestion rather than a judgment.
Help Shoppers Find Their Glow Before They Buy
Perfect Corp's highlighter and makeup virtual try-on can help your customers see shades, finishes and placement on their own face across web, app and in-store. Talk to our team about building highlighter try-on into your product pages or beauty counters.